Cheap Printed T-Shirts UK: Quality & Value Guide 2026
Discover how to source cheap printed t-shirts UK without compromising…
Creating custom clothing has never been more accessible, whether you're launching a brand, promoting an event, or simply expressing your creativity. When you design own tshirt, you transform a blank canvas into a wearable statement that reflects your unique vision. This comprehensive guide explores everything from choosing the right design software to understanding colour theory, placement considerations, and file preparation for printing. With the right knowledge and tools, anyone can create professional-quality designs that translate beautifully onto fabric.
Before diving into complex design work, you need to grasp the fundamental principles that make t-shirt graphics successful. The process differs significantly from designing for digital screens or print media because fabric presents unique challenges and opportunities.
The single most critical factor in t-shirt design is image quality. Vector graphics are ideal because they scale infinitely without losing clarity, making them perfect for various garment sizes. Raster images must be at least 300 DPI (dots per inch) at the final print size to avoid pixelation.
Many beginners make the mistake of downloading images from websites or social media, which typically range from 72 to 150 DPI. These files look acceptable on screens but produce poor print quality when transferred to fabric. Always start with high-quality source files or create vector artwork from scratch.
Colour choice impacts both aesthetics and production costs. Different printing methods handle colours differently:
| Printing Method | Colour Capacity | Best For | Cost Factor |
|---|---|---|---|
| Screen Printing | Limited per screen | Bulk orders, simple designs | Most economical for quantity |
| Direct-to-Garment (DTG) | Full colour spectrum | Complex designs, photo prints | Cost-effective for small runs |
| Heat Transfer Vinyl | Solid colours | Names, numbers, simple graphics | Ideal for personalisation |
| Embroidery | Thread colour range | Professional workwear, logos | Premium finish, higher cost |
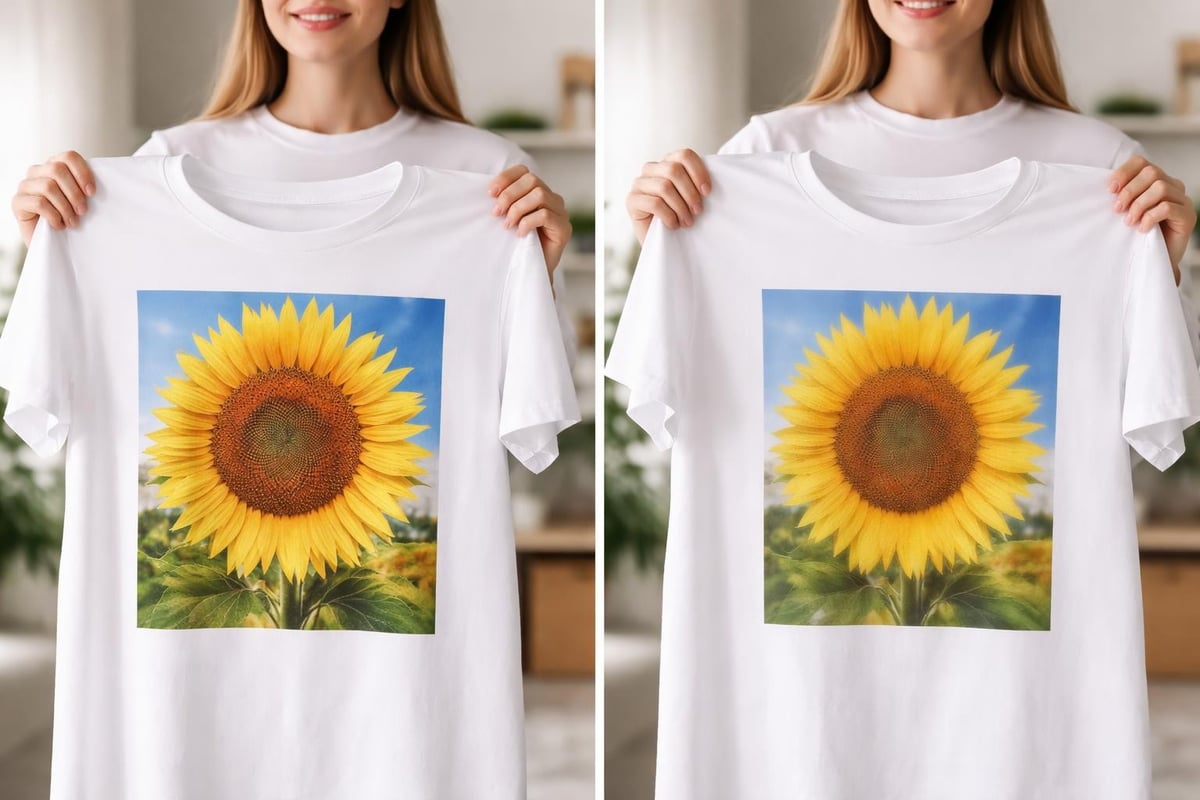
When you design own tshirt, consider the relationship between your chosen colours and the garment colour. High contrast ensures readability and visual impact. A white design on a light grey shirt will appear washed out, whilst white on navy creates striking clarity.
The tools you select significantly influence your creative possibilities and workflow efficiency. Both free and premium options exist for designers at every skill level.
Adobe Illustrator remains the industry standard for vector-based t-shirt design. Its precision tools, extensive font library, and professional output options make it invaluable for serious designers. Adobe Photoshop complements Illustrator for photo manipulation and raster-based artwork.
CorelDRAW offers similar capabilities with a different interface approach that some designers prefer. It excels at sign-making and vector illustration, making it popular in the custom apparel industry.
Free tools like Inkscape provide robust vector design capabilities without the subscription cost. The learning curve may be steeper due to less polished interfaces, but the core functionality matches professional software.
Canva has revolutionized accessible design with templates specifically created for t-shirt graphics. Whilst it has limitations for complex work, it allows quick creation of effective designs without extensive training.
When choosing software, consider:
Creating effective t-shirt graphics requires understanding how designs translate from screen to garment. Several key principles separate amateur work from professional results.
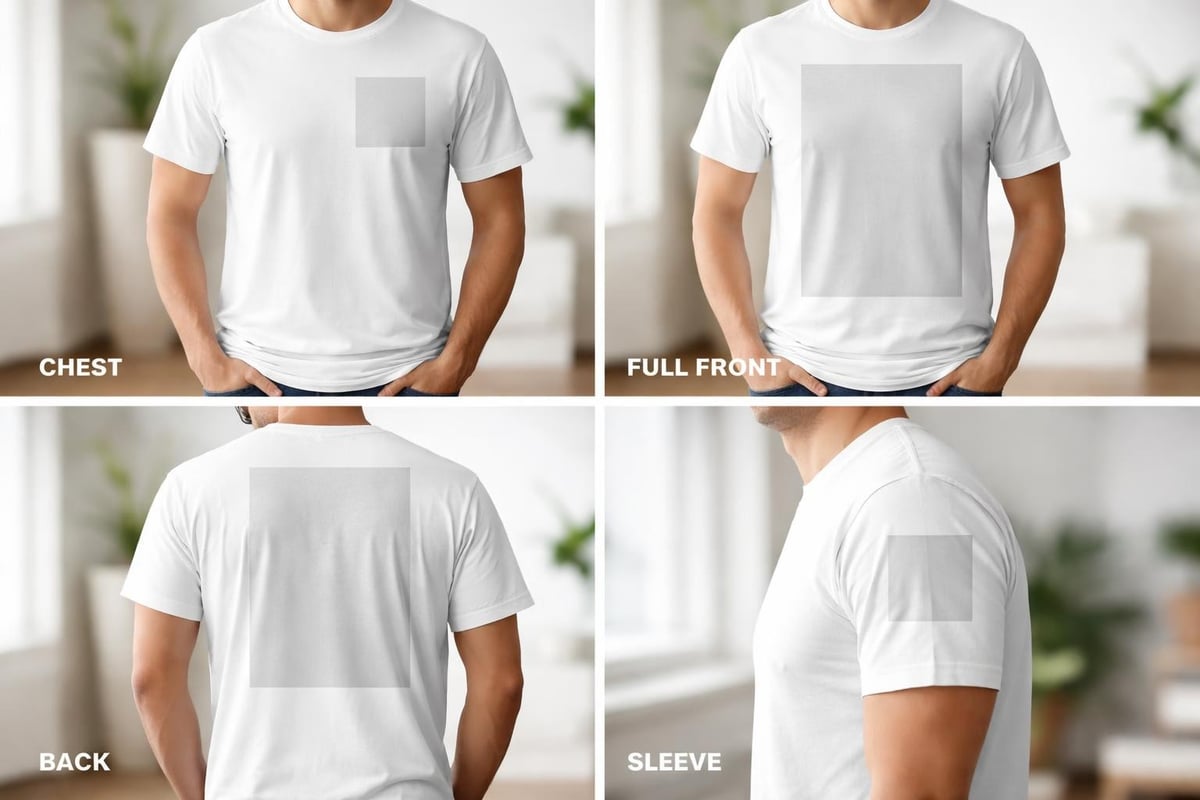
Standard placement areas each have different visual impacts and technical requirements:
Chest placement (left chest area) works brilliantly for logos and small designs, typically sized between 3-4 inches wide. This professional positioning suits corporate wear, school uniforms, and branded workwear.
Full front placement offers maximum visibility and creative space, usually centered 3-4 inches below the collar seam. Designs here can range from 10-14 inches wide depending on garment size.
Back placement provides a larger canvas for detailed artwork or messages. The design should sit below the collar and above the bottom hem, creating balanced visual weight.
Text readability becomes paramount when you design own tshirt. From a distance, thin or ornate fonts disappear, whilst bold, clear typefaces maintain impact.
Key typography guidelines include:
Understanding design dos and don’ts helps you avoid common mistakes that compromise the professional appearance of your finished garment.
The actual creation process follows a logical sequence that ensures professional results. Whether working digitally or sketching initially by hand, these steps provide structure to your creative workflow.
Begin with rough sketches or mood boards. Define your message, target audience, and design objectives. What emotion or information should your design convey? Understanding purpose guides every subsequent decision.
Consider these conceptual questions:
Transfer your concept into your chosen software. Start with basic shapes and build complexity gradually. Following proven tips for better t-shirt designs ensures your digital artwork meets professional standards.
Work in layers to maintain flexibility. Separate text, graphics, and background elements so you can adjust each independently. This approach simplifies revisions and allows you to experiment with variations.
Apply your colour scheme thoughtfully. Test how colours interact and adjust saturation or brightness for optimal impact. Remember that colours appear differently on various fabric colours and under different lighting conditions.
Create colour variations of your design to see which combination delivers the strongest visual punch. Sometimes unexpected colour pairings produce the most memorable results.
Prepare files according to your printing method requirements. Screen printing requires colour separation, with each colour on its own layer. DTG printing needs RGB colour mode files. Vector formats (AI, EPS, PDF) work universally across printing methods.
Even experienced designers occasionally fall into preventable traps. Recognizing these pitfalls before they occur saves time, money, and disappointment.
Using internet images or stretched graphics creates unprofessional results. Always source high-resolution images or create vector artwork. If you must use raster images, verify they meet the 300 DPI requirement at actual print size.
Beginning designers often cram excessive elements into one design. Simplicity typically wins. A clear, focused design with one or two strong elements outperforms cluttered compositions. Avoiding common t-shirt designing mistakes requires restraint and editing discipline.
T-shirts have seams, folds, and varying body shapes. Designs that look perfect flat may distort when worn. Account for fabric stretch, especially around the underarm and side seams where designs can warp.
Insufficient contrast between design and garment makes graphics invisible. Test your colour choices by converting your design to greyscale. If elements disappear or become unclear, your contrast needs improvement.
| Common Mistake | Why It Fails | Solution |
|---|---|---|
| Low-resolution images | Pixelation and blurriness | Use 300 DPI minimum or vector files |
| Too many fonts | Cluttered, unprofessional appearance | Limit to 2-3 font families |
| Ignoring negative space | Overwhelming, difficult to read | Balance design elements with breathing room |
| Wrong file format | Printing issues, quality loss | Provide vector or high-res raster in correct colour mode |
| Forgetting bleed area | Cut-off design elements | Extend design beyond trim lines |
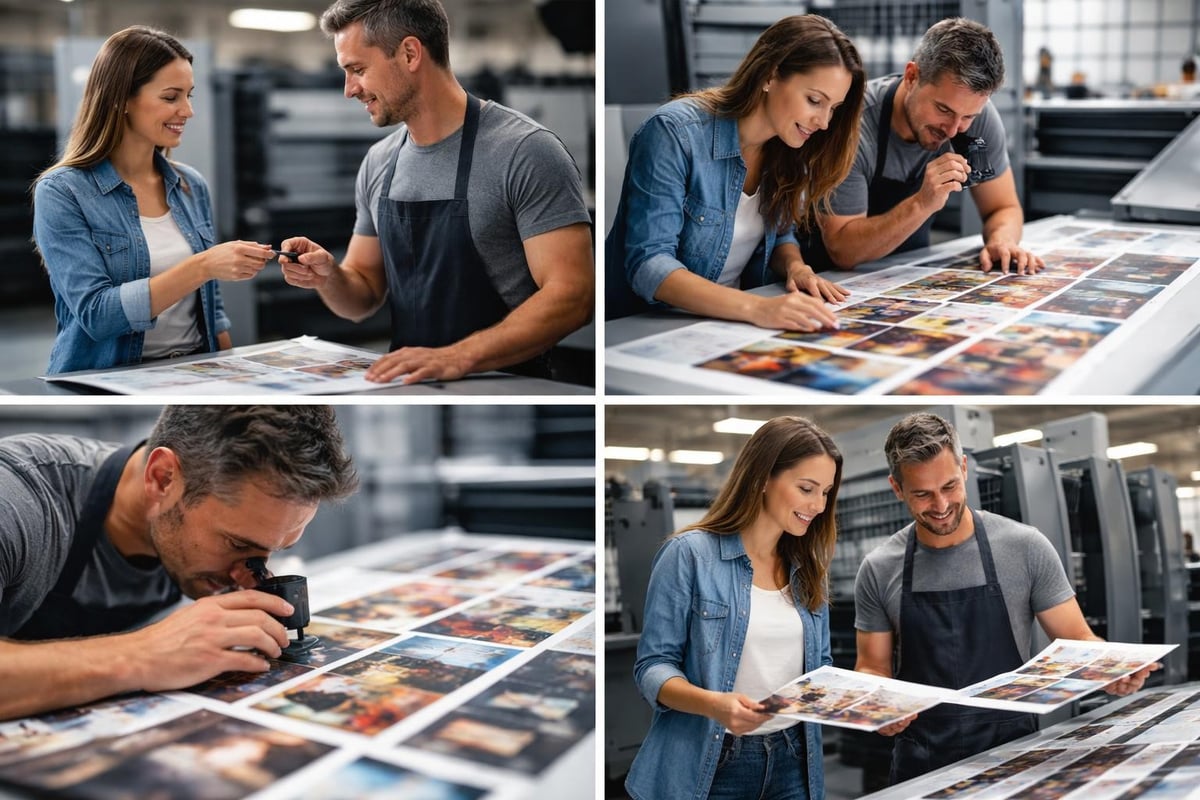
Once you've created your design, partnering with experienced printers ensures your vision translates accurately to fabric. Understanding the production side helps you prepare files correctly and communicate effectively.
Different printing companies have specific requirements for artwork submission. Generally, you'll need:
Professional printers typically offer design services and consultation, helping you refine artwork for optimal results. Their experience with thousands of projects means they can spot potential issues before production begins.
Your design characteristics often determine the best printing approach. Simple logos with solid colours suit screen printing, especially for large quantities. Photographic images or designs with gradients work better with DTG printing. Text and numbers benefit from heat transfer vinyl's precision.
Birmingham-based specialists with extensive experience can guide you toward the method that balances quality, durability, and cost-effectiveness for your specific project.
Staying current with design trends helps your t-shirts feel fresh and relevant whilst maintaining timeless appeal. Several movements dominate custom apparel in 2026.
Consumers increasingly want clothing that represents values and causes. Designs incorporating environmental themes, social justice messages, or community support resonate strongly. Authentic messaging paired with thoughtful design creates powerful, wearable statements.
Vintage-inspired designs remain popular, but with contemporary colour palettes and refined execution. Think 1970s typography with current colour trends, or 1990s graphics reimagined with cleaner lines.
The paradox of minimalism with maximum impact defines much of current t-shirt design. Simple geometric shapes, single-word statements in striking typography, or lone symbols create memorable designs without complexity.
Individual names, dates, or custom text make each garment unique. Technology now allows economical personalization even on single items, making one-off designs accessible to everyone.
The intended use of your t-shirt should inform design decisions from the start. Corporate apparel requires different approaches than event merchandise or personal expression pieces.
Professional contexts demand subtle sophistication. Logo placement typically appears on the left chest, with optional larger back designs. Colour schemes should align with brand guidelines whilst considering garment colours that flatter various skin tones.
School apparel balances institutional identity with student appeal. Clear, readable text combined with school colours and mascots creates pride and unity. Durable printing methods like embroidery ensure longevity through repeated washing.
Event t-shirts commemorate experiences and promote causes. Including dates, locations, or event themes makes them collectible. Bold, eye-catching designs stand out in crowds and photograph well for social media sharing.
When designing for personal use, rules become flexible. Experiment boldly with styles that reflect your personality. This freedom allows artistic exploration without commercial constraints.
Delivering properly prepared files prevents production delays and ensures your design prints exactly as intended. Understanding technical requirements streamlines the process.
For Illustrator or CorelDRAW files:
For Photoshop or similar applications:
Specify colours precisely to avoid surprises. Pantone Matching System (PMS) provides standardized colours for screen printing. CMYK values work for process printing, whilst RGB suits DTG methods. Following professional design guidelines ensures colour accuracy from screen to garment.
Beginning your design own tshirt journey requires just a few essential steps. Start simple and build skills progressively rather than attempting complex projects immediately.
Choose a straightforward first project: a text-based design for a family event, a simple logo for a hobby group, or a geometric pattern that interests you. Success with basic projects builds confidence for more ambitious work.
Many design platforms and step-by-step tutorials provide templates that ensure proper sizing and placement. Templates remove guesswork about technical specifications, allowing you to focus on creative decisions.
Show your design to others before printing. Fresh eyes spot issues you've missed and provide perspective on clarity and impact. Be open to constructive criticism and willing to refine your work through multiple iterations.
If possible, order a sample before committing to large quantities. Seeing your design on actual fabric reveals how colours, sizing, and placement work in reality versus on screen. Minor adjustments after a test print can dramatically improve final results.
Design skills develop through practice and continuous learning. Numerous resources support your growth from beginner to accomplished t-shirt designer.
Online communities provide inspiration, critique, and technical assistance. Design platforms host tutorials covering everything from basic tool usage to advanced techniques. Video tutorials demonstrate processes step-by-step, making complex procedures accessible.
Studying existing t-shirt designs critically teaches you what works and why. Analyze designs you admire: What makes them effective? How do they use colour, typography, and composition? This analytical approach accelerates your design education.
Experimenting with different styles and techniques expands your creative toolkit. Try vintage designs one week, minimalist approaches the next. Variety prevents creative stagnation and helps you discover your distinctive design voice.
Designing your own t-shirt combines creative expression with technical knowledge, resulting in wearable art that communicates your message effectively. Whether you're creating corporate apparel, school uniforms, or personal statement pieces, the principles outlined here provide the foundation for professional results. With over a decade of experience in custom printed and embroidered clothing, OK T-Shirt brings your designs to life with fast turnaround times and exceptional quality, transforming your creative vision into garments you'll be proud to wear.
OK T-Shirt
126 Beeches Rd
Birmingham
B42 2HQ
